I.C.T-P3
I.C.T
| Availability: | |
|---|---|
| Quantity: | |
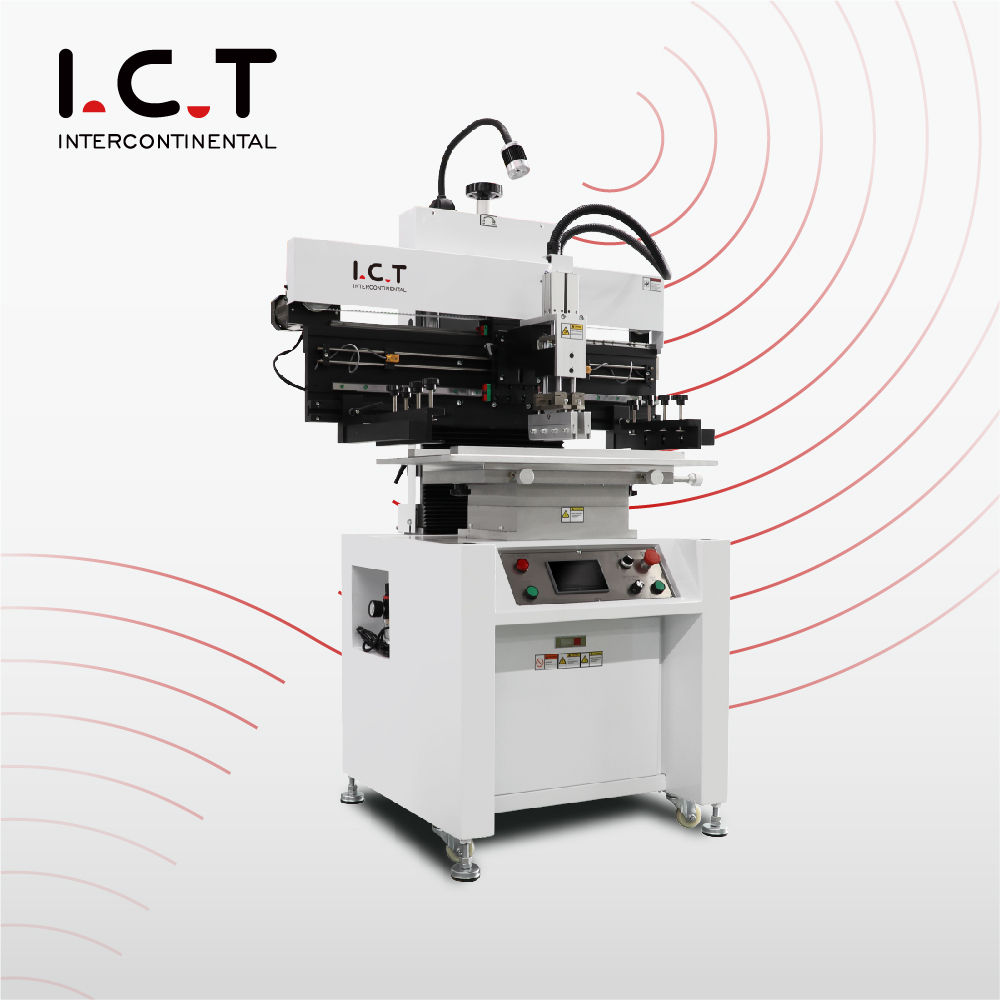
1. Using linear guide-ways,matching motor drive speed , ensure the printing stability and precision.
2. Blade pressure and printing speed is adjustable,precision pressure gauge, speed controller display.
3. Suspension blade system makes printing more evenly.
4. Modular universal bench, thimble random placement , easy conversion.
5. With alignment device for PCB board and frame.
6. Work with both single-sided and double-sided PCB boards.
7. Steel frame arms can be adjusted for different size ranges from 370 * 470mm to 1500 * 350mm .
8. Auto printing , stable and efficient printing quality.
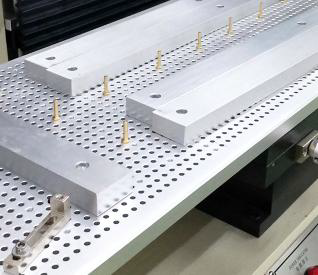
Platform system
The pin and support block shall be suitable for different one-sided and double-sided PCB, and the pin of different sizes shall be suitable for different PCB holes. operation simple, the positioning is accurate, and the fixed position is flexible and adjustable.
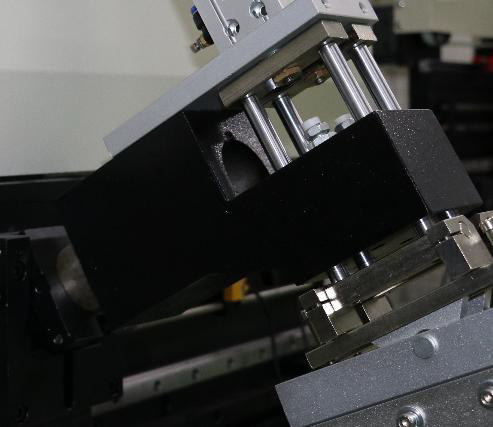
Print system
Direct connection squeegee structure.The squeegee is
independently controlled by two high-precision cylinder to ensure accurate and stable pressure.The double slide positioning rails ensure the accuracy and stability of the squeegee.
Stenciling Screen Printing Machine
| Model | P3 | P6 | P12 | P15 |
| Accuracy | +/- 0.05mm | +/- 0.05mm | +/- 0.05mm | +/- 0.05mm |
| PCB Size | 300 x 350 mm | 600 x 350 mm | 1200 x 350 mm | 1500 x 350 mm |
| Platform size | 320 x 400 mm | 700 x 400 mm | 1350 x 400 mm | 1650 x 400 mm |
| Stencil Size(mm) | 370*470-550*650 | 370*470-550*650 | 370*470-1500*650 | 370*470-1750*650 |
| PCB Thickness | 0.2 - 6 mm | 0.2 - 6 mm | 0.2 - 6 mm | 0.2 - 6 mm |
| Stencil Positioning | Manual | Manual | Manual | Manual |
| Cycle Time | < 10 Sec. | < 10 Sec. | < 12 Sec. | < 12 Sec. |
| Power Consumption | 200 W | 200 W | 220 W | 220 W |
| Power Supply | 1 -PH, 220VAC 50/60HZ | 1 -PH, 220VAC 50/60HZ | 1 -PH, 220VAC 50/60HZ | 1 -PH, 220VAC 50/60HZ |
| Air Pressure | 4.5-6 kg/cm | 4.5-6 kg/cm | 4.5-6 kg/cm | 4.5-6 kg/cm |
| Squeegee Speed | 0-200mm/sec | 0-1200mm/sec | 0-200mm/sec | 0-200mm/sec |
| Dimension | 850x750x1650 mm | 1050x750x1650 mm | 1660x750x1650 mm | 2100x750x1650 mm |
| Weight | 280 Kg | 300 Kg | 356 Kg | 430 Kg |
| Squeegee Length | 250mm | 250mm | 250mm | 250mm |
| Platform Height | 950mm | 950mm | 950mm | 950mm |
| Option: Special size can be customized | ||||
* I.C.T keeps working on quality and performance, specifications and appearance may be updated without particular notice.

1. Using linear guide-ways,matching motor drive speed , ensure the printing stability and precision.
2. Blade pressure and printing speed is adjustable,precision pressure gauge, speed controller display.
3. Suspension blade system makes printing more evenly.
4. Modular universal bench, thimble random placement , easy conversion.
5. With alignment device for PCB board and frame.
6. Work with both single-sided and double-sided PCB boards.
7. Steel frame arms can be adjusted for different size ranges from 370 * 470mm to 1500 * 350mm .
8. Auto printing , stable and efficient printing quality.

Platform system
The pin and support block shall be suitable for different one-sided and double-sided PCB, and the pin of different sizes shall be suitable for different PCB holes. operation simple, the positioning is accurate, and the fixed position is flexible and adjustable.

Print system
Direct connection squeegee structure.The squeegee is
independently controlled by two high-precision cylinder to ensure accurate and stable pressure.The double slide positioning rails ensure the accuracy and stability of the squeegee.
Stenciling Screen Printing Machine
| Model | P3 | P6 | P12 | P15 |
| Accuracy | +/- 0.05mm | +/- 0.05mm | +/- 0.05mm | +/- 0.05mm |
| PCB Size | 300 x 350 mm | 600 x 350 mm | 1200 x 350 mm | 1500 x 350 mm |
| Platform size | 320 x 400 mm | 700 x 400 mm | 1350 x 400 mm | 1650 x 400 mm |
| Stencil Size(mm) | 370*470-550*650 | 370*470-550*650 | 370*470-1500*650 | 370*470-1750*650 |
| PCB Thickness | 0.2 - 6 mm | 0.2 - 6 mm | 0.2 - 6 mm | 0.2 - 6 mm |
| Stencil Positioning | Manual | Manual | Manual | Manual |
| Cycle Time | < 10 Sec. | < 10 Sec. | < 12 Sec. | < 12 Sec. |
| Power Consumption | 200 W | 200 W | 220 W | 220 W |
| Power Supply | 1 -PH, 220VAC 50/60HZ | 1 -PH, 220VAC 50/60HZ | 1 -PH, 220VAC 50/60HZ | 1 -PH, 220VAC 50/60HZ |
| Air Pressure | 4.5-6 kg/cm | 4.5-6 kg/cm | 4.5-6 kg/cm | 4.5-6 kg/cm |
| Squeegee Speed | 0-200mm/sec | 0-1200mm/sec | 0-200mm/sec | 0-200mm/sec |
| Dimension | 850x750x1650 mm | 1050x750x1650 mm | 1660x750x1650 mm | 2100x750x1650 mm |
| Weight | 280 Kg | 300 Kg | 356 Kg | 430 Kg |
| Squeegee Length | 250mm | 250mm | 250mm | 250mm |
| Platform Height | 950mm | 950mm | 950mm | 950mm |
| Option: Special size can be customized | ||||
* I.C.T keeps working on quality and performance, specifications and appearance may be updated without particular notice.
When operating a stenciling screen printing machine, it's crucial to follow precise steps to ensure optimal performance and high-quality results. Let's delve into detailed instructions for effectively using this machine:
Preparation:
Begin by gathering all necessary materials, including the PCBs, solder paste, stencil, and any required tools.
Ensure that the stencil is clean and free from any debris or residual solder paste from previous use. Use a lint-free cloth and appropriate cleaning solution if necessary.
Check that the PCBs are clean and free from any dust or contaminants that could interfere with the solder paste application process.
Stencil Setup:
Secure the stencil onto the stencil frame, ensuring it is aligned correctly and securely fastened in place.
Place the stencil frame onto the stencil printing bed of the machine, ensuring proper alignment with the PCBs to be printed.
Solder Paste Preparation:
Thoroughly mix the solder paste to ensure a consistent viscosity and homogenous composition. Proper mixing is essential for achieving uniform solder paste deposition.
Load the solder paste into the solder paste dispenser or reservoir of the stencil printing machine, ensuring that it is filled to the appropriate level for the printing process.
Machine Calibration:
Calibrate the machine settings, including squeegee pressure, speed, and stroke length, to achieve the desired solder paste deposition thickness and coverage.
Adjust the stencil-to-PCB gap to ensure optimal contact between the stencil and PCB surface, which is crucial for achieving accurate solder paste transfer.
Printing Process:
Place the PCBs onto the printing bed, ensuring they are securely held in place to prevent movement during the printing process.
Initiate the printing process, allowing the machine to automatically apply solder paste onto the PCBs through the stencil.
Monitor the printing process closely, observing the solder paste deposition to ensure uniform coverage and consistency across all PCBs.
Post-Printing Inspection:
After printing, carefully remove the PCBs from the printing bed, taking care not to disturb the freshly applied solder paste.
Inspect the solder paste deposition on each PCB, checking for any defects such as insufficient or excessive solder paste, bridging, or misalignment.
Address any issues immediately, making adjustments to machine settings or stencil alignment as needed to ensure optimal print quality.
Cleaning and Maintenance:
After completing the printing process, clean the stencil, printing bed, and any other machine components thoroughly to remove any solder paste residue and prevent contamination.
Perform regular maintenance tasks such as lubrication, calibration checks, and component inspections to ensure the machine remains in optimal working condition and continues to produce high-quality prints.
I.C.T - Our Company
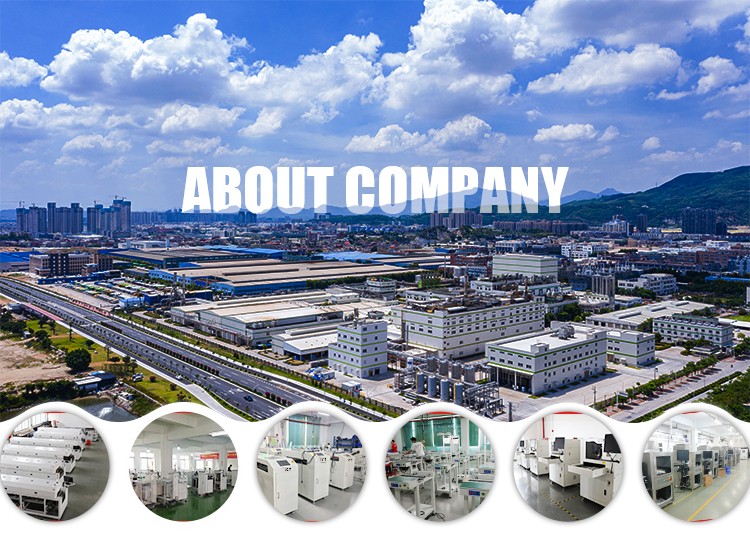
About I.C.T:
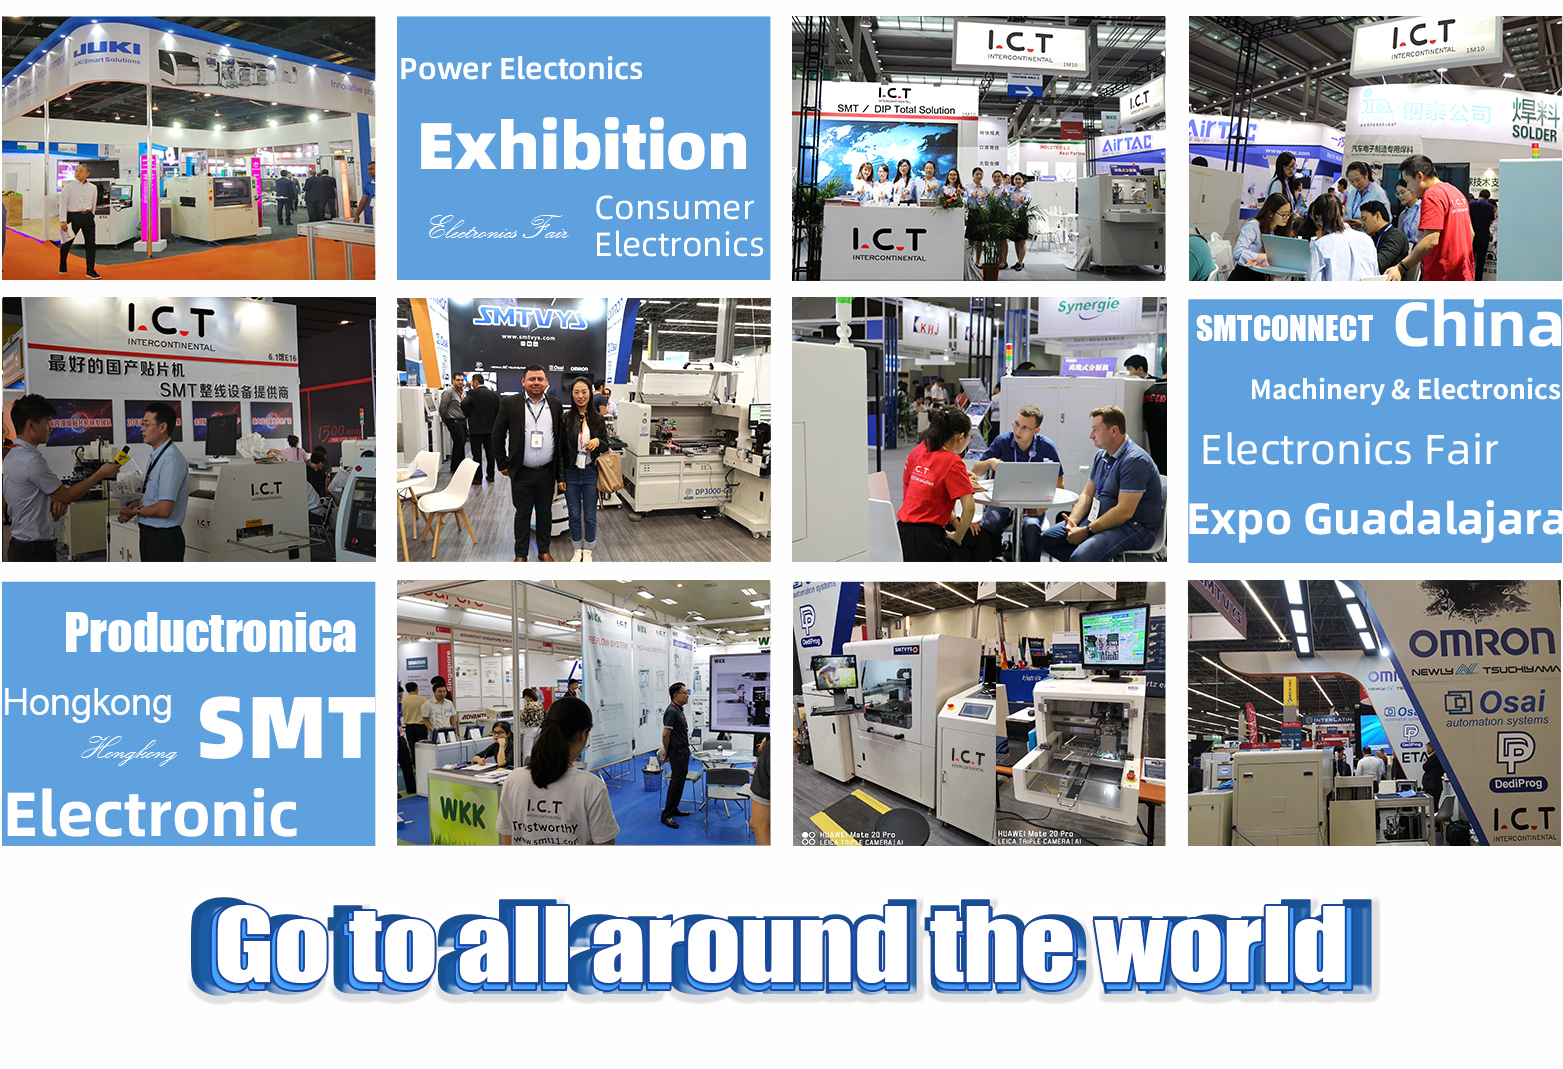
I.C.T is a leading provider of factory planning solution. We have 3 wholly-owned factories, providing professional consultation and services for global customers. We have more than 22 years of eletronic overall solutions. We not only provide a complete set of equipment, but also provide full range of technical support and services, and give customers more reasonable professional advice. We help many customersv to set up factories in LED, TV, mobile phone, DVB, EMS and other indutries all over the world. We are to set up factories in LED, TV, mobile phone, DVB, EMS and other indutries all over the world. We are trustworthy.

Exhibition
I.C.T - Our Company

About I.C.T:
I.C.T is a leading provider of factory planning solution. We have 3 wholly-owned factories, providing professional consultation and services for global customers. We have more than 22 years of eletronic overall solutions. We not only provide a complete set of equipment, but also provide full range of technical support and services, and give customers more reasonable professional advice. We help many customersv to set up factories in LED, TV, mobile phone, DVB, EMS and other indutries all over the world. We are to set up factories in LED, TV, mobile phone, DVB, EMS and other indutries all over the world. We are trustworthy.

Exhibition

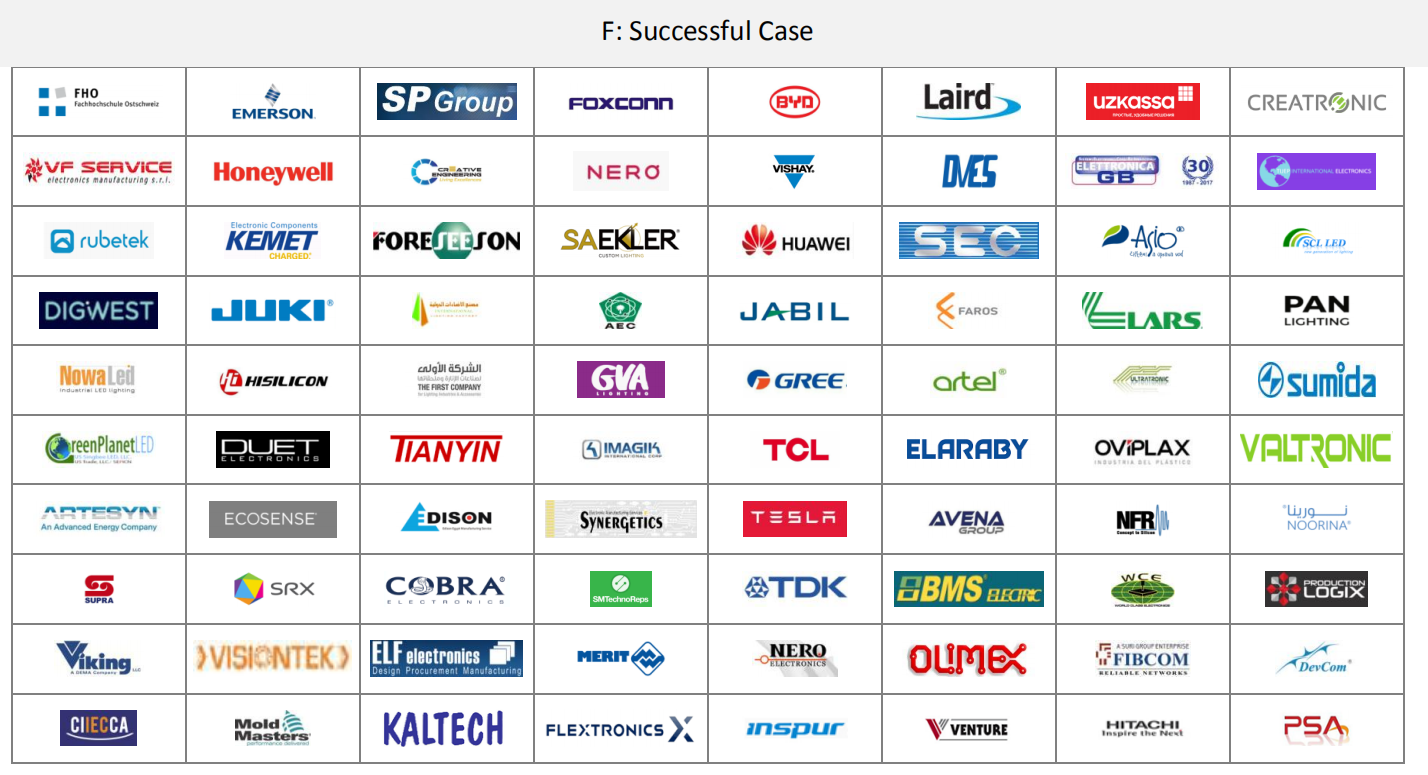
For SMT Factory Setup, We Can Do for You:
1. We Provide Full SMT Solution for You
2. We Provide Core Technology With Our Equipments
3. We Provide The Most Professional Tech Service
4. We Have Wealthy Experience on SMT Factory Setup
5. We Can Solve Any Question About SMT

For SMT Factory Setup, We Can Do for You:
1. We Provide Full SMT Solution for You
2. We Provide Core Technology With Our Equipments
3. We Provide The Most Professional Tech Service
4. We Have Wealthy Experience on SMT Factory Setup
5. We Can Solve Any Question About SMT

